
This article outlines how to invite a new user and set them up.
How can it help you?
Inviting a user is the process of creating a new user account.
By inviting a user, you can grant someone access to your dashboard and equipment and set up their profile and preferences to suit their individual needs. Giving individuals set accounts further ensures each person has an individual identity, which is vital for communication within the dashboard, such as in Event Feedback.
How does it work?
Only accounts with standard user access can add new users to an organisation.
Step 1
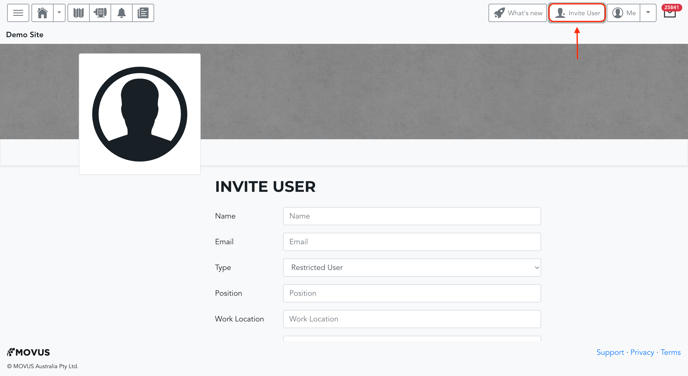
Once logged in to the dashboard as a standard user, you can invite a user by clicking the "Invite User" button (top right-hand corner) on any page. This will open the Invite User function.
Step 2
By default, only the required fields of Name, Email, Type, Position, Work Location and Department will be visible.
If you'd like your user to be able to view all equipment and onboard FitMachines, select 'Standard User' from the drop-down menu in the User Type field, otherwise select 'Restricted User'. Their user type can be changed later. The differences between them are outlined in our article What are User Types?
You can fully complete their profile by clicking the 'Optional' button. Opening this allows you to include their Mobile Phone Number, LinkedIn Profile and Email/SMS Preferences. If the information is available to you, we highly recommend you do so to save time down the track.
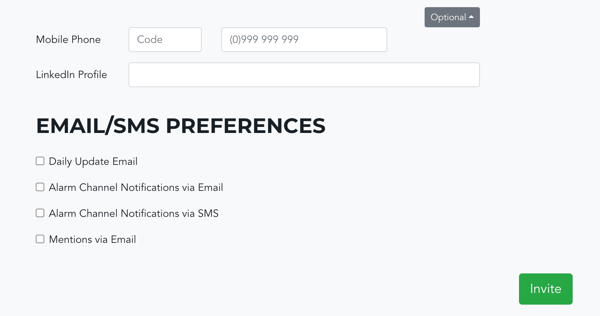
To choose their Email/SMS Preferences, click the checkboxes to sign them up for Daily Update emails, Alarm Channel Notifications via Email and/or via SMS, and Mentions via Email. You can select as many as you like.
If you have access to multiple organisations, the option to choose which organisation/s the account will have access to will also be available.
Once you've input all information and updated the Notification Preferences, click on the green "Invite" button at the bottom of the page.
Step 3
If you have created a 'User' account, you'll need to update the equipment the user can access and see on their dashboard. This is a handy way of ensuring staff only receive alerts for their areas of responsibility in the plant.
Notably, this functionality is only available to Restricted Users. Standard Users or higher must be assigned to Device Groups. This is explained in What are User Types?
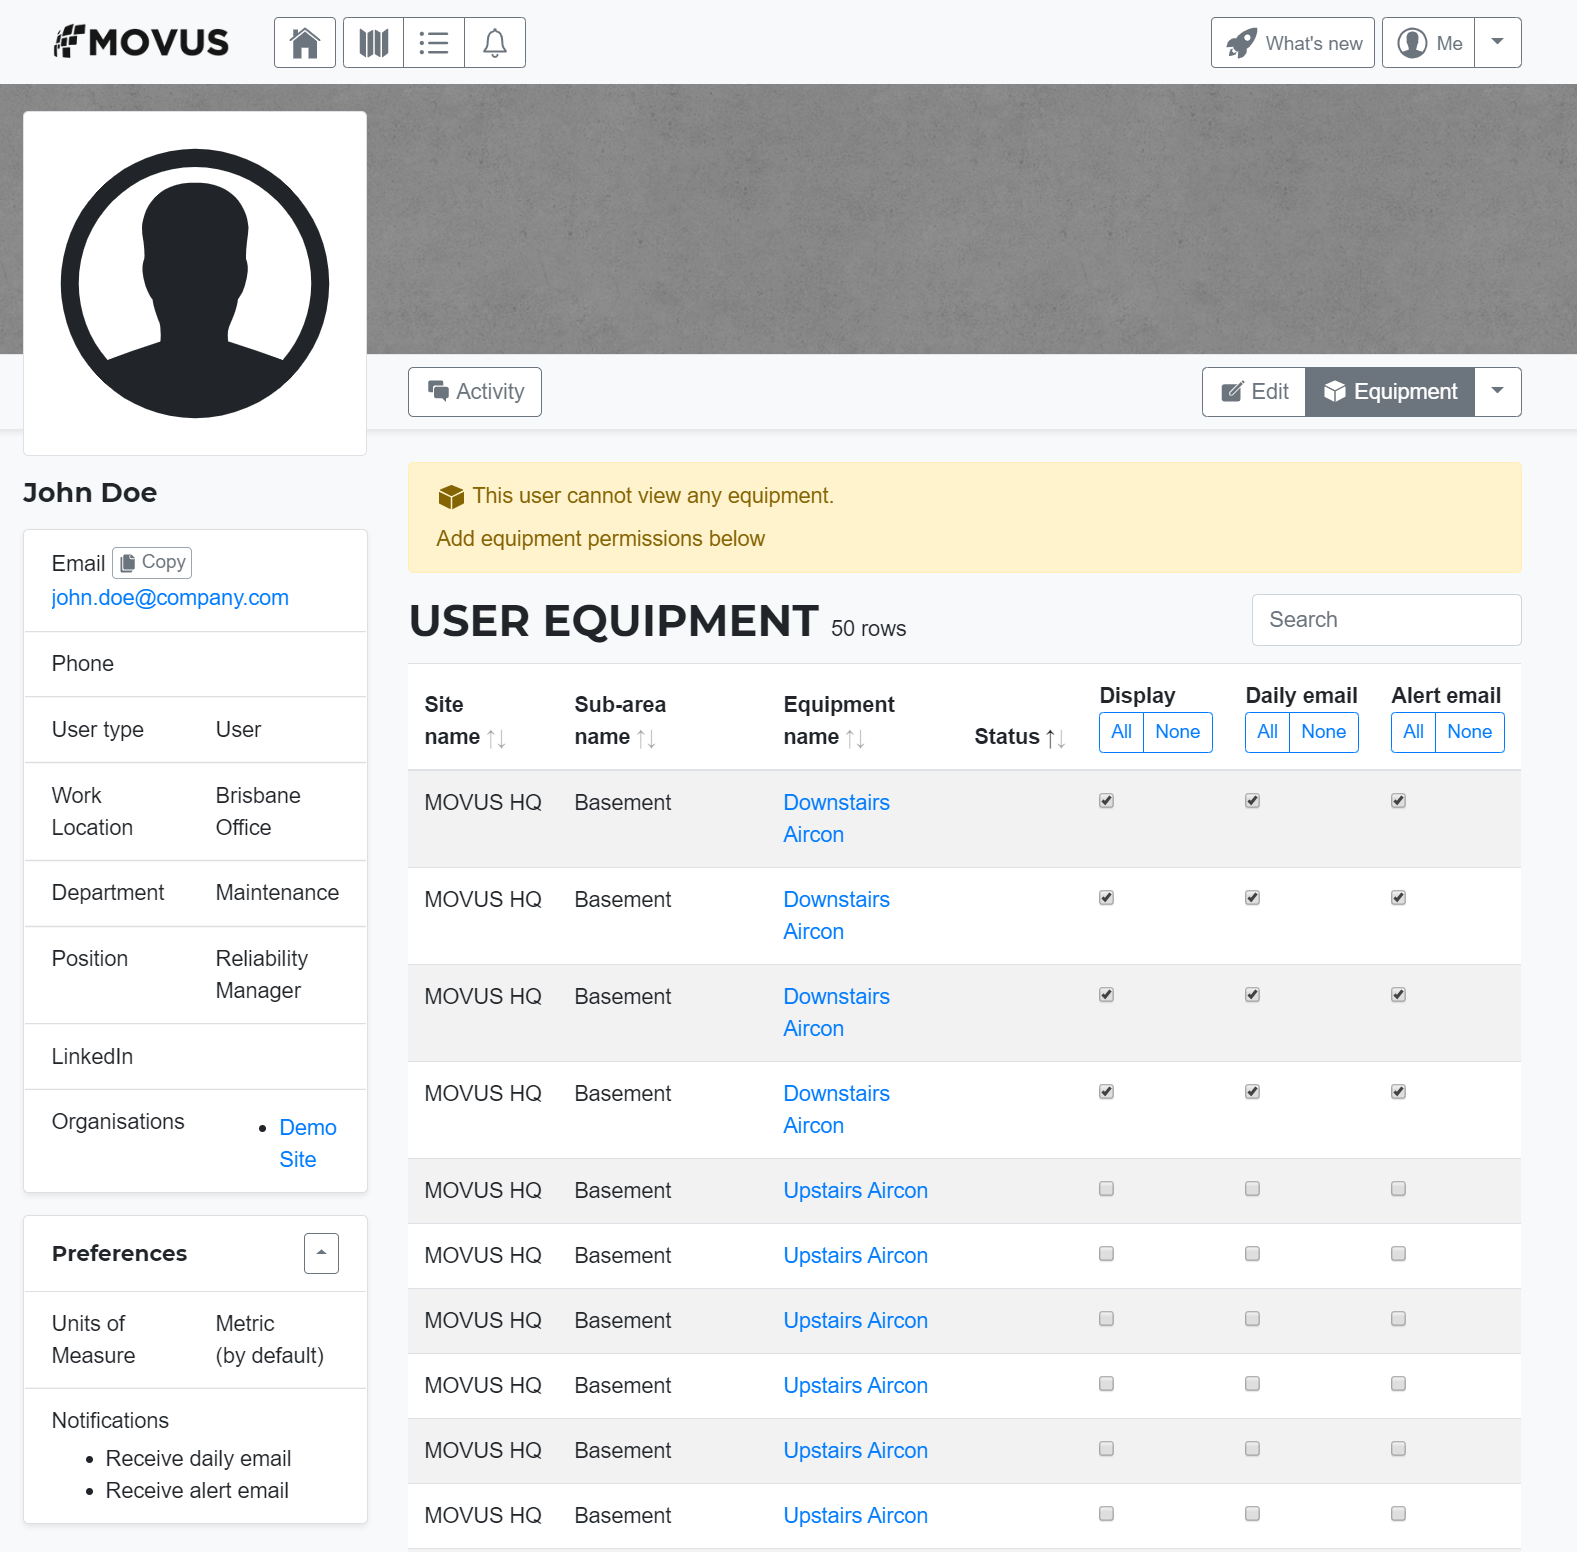
For Restricted Users, our article How to Edit a User outlines how to reach this page. Ensure you click the 'Equipment' button in the top right-hand corner to see your equipment options.
You can use the search bar to filter your visible options to be one site, one sub-area or on an equipment-by-equipment basis and use the All/None buttons to quickly select all equipment subjected to that filter. Remember to click on the Update button at the bottom of the page to save changes.
Congratulations! Your new user is ready to go. If you did not fill out the optional information in step 2, please remember to ask your new user to!
What else should I look at?
- Event Feedback
- Accessing your FitMachine Account
- Changing your Account Preferences
- How to Edit a User
---
Thanks for reading. If you have any questions or concerns, please reach out to MOVUS Support here.