
This article outlines how you can replace a FitMachine sensor that has been installed on your equipment.
How can it help you?
If your FitMachine needs to be replaced, for example, if the sensor has been damaged, this article is for you.
Replacing a FitMachine allows you to continue monitoring your equipment even after the life of your FitMachine has come to an end.
If you have yet to arrange a replacement FitMachine, please do so now by contacting MOVUS Support here.
How does it work?
Once you have your new FitMachine sensor, you can replace your old FitMachine through the following steps:
1. Physically Replace the Sensor
To replace the FitMachine sensor, you need to detach the current FitMachine from its equipment and re-install the new sensor.
For consistency of data, when replacing a FitMachine sensor, do your best to locate the new sensor in as close to the same position as the old sensor was positioned.
Please read our article About FitMachine Sensor Installation to ensure you position your sensor correctly.
2. Change the MAC address
Once you have physically replaced the sensor, you need to update the MAC address linked to your equipment. This ensures that your new FitMachine is communicating with your dashboard.
During this process, you will need to remain close by your FitMachine and have the FitMachine Mobile App installed on your phone with Bluetooth turned on.
It’s not possible to use the dashboard to change the MAC address.
WARNING: The data from your previous FitMachine sensor will be unavailable on the dashboard once you change the MAC address using the Mobile App.
If you wish to keep that data, first please read our Downloading FitMachine Data article.
Step 1
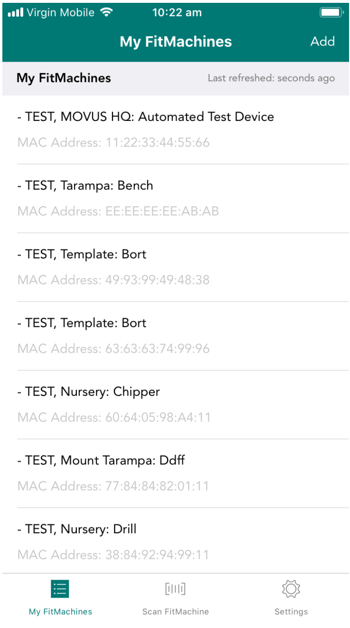
After logging into the app, find and select the equipment you are changing the FitMachine for in the ‘My FitMachines’ list.
Step 2
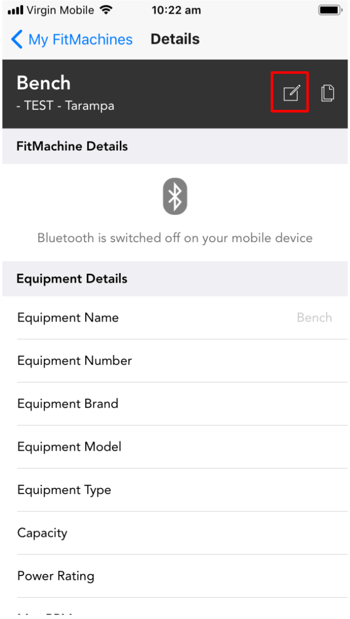
Press on the ‘Edit’ icon in the top right-hand corner of the screen.
Step 3
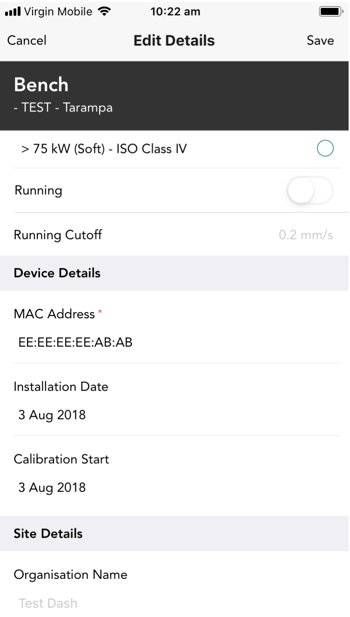
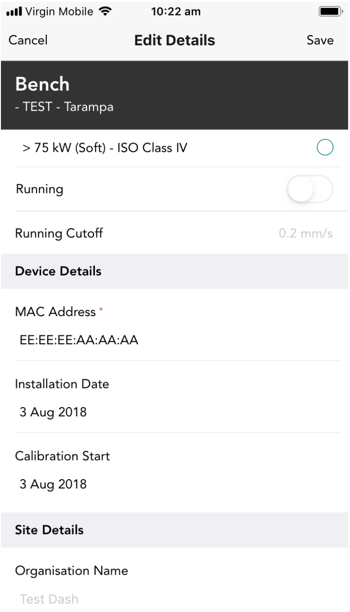
Scroll down to the ‘Device Details’ heading and tap on the MAC Address field.
Step 4
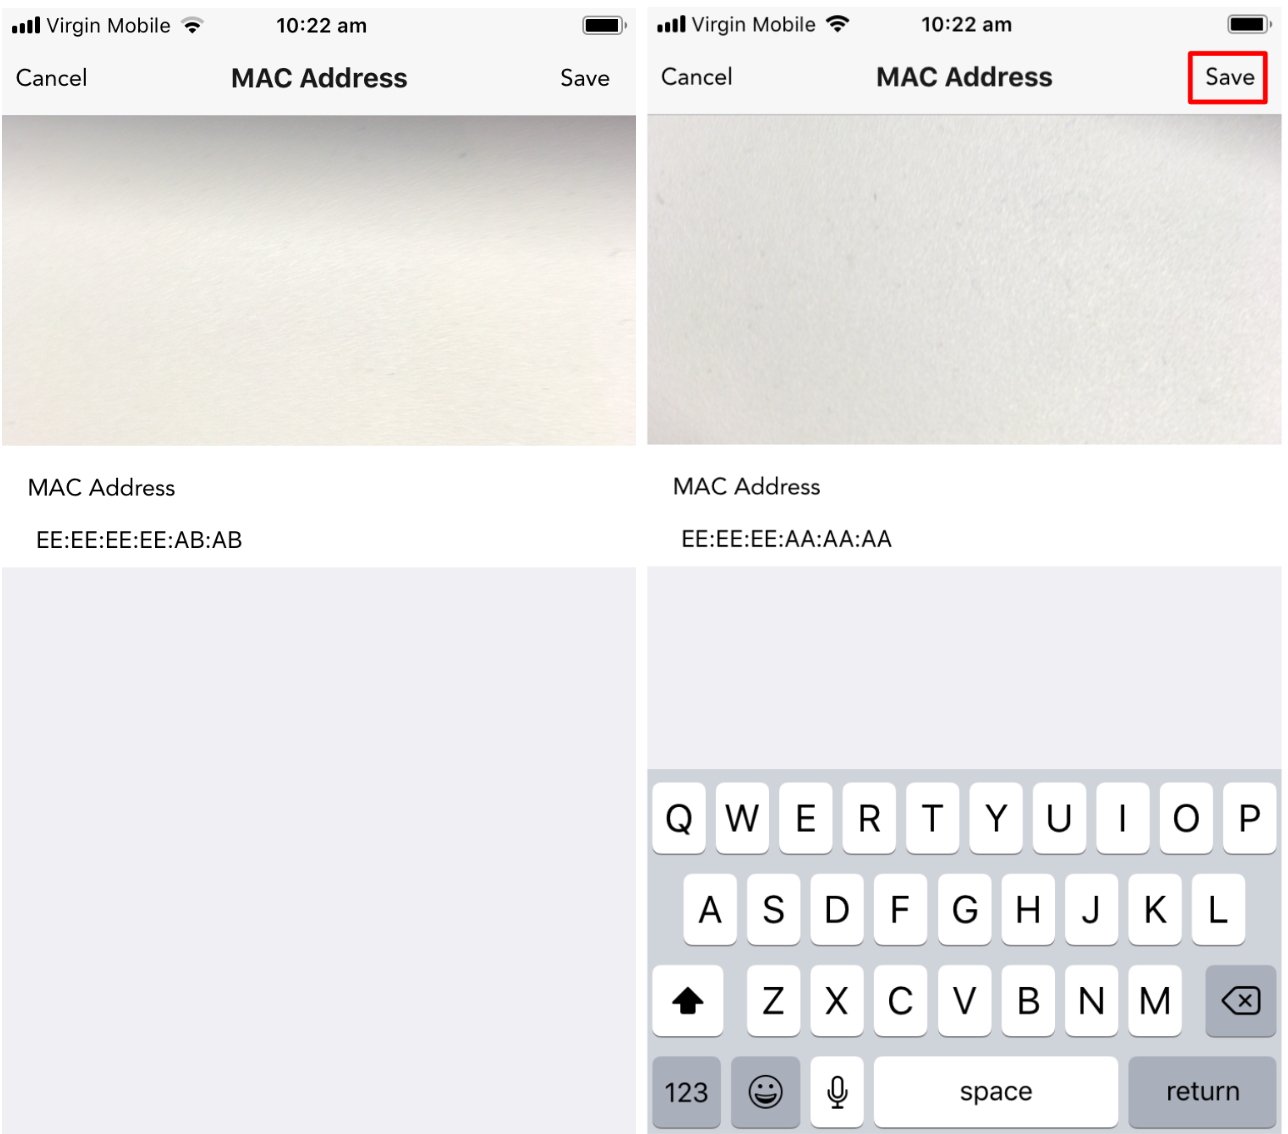
Scan the QR code of the new FitMachine and then press Save in the top right-hand corner of the screen.
Step 5
Press the Save button again in the top right-hand corner of the screen to complete the replacement process.
Step 6
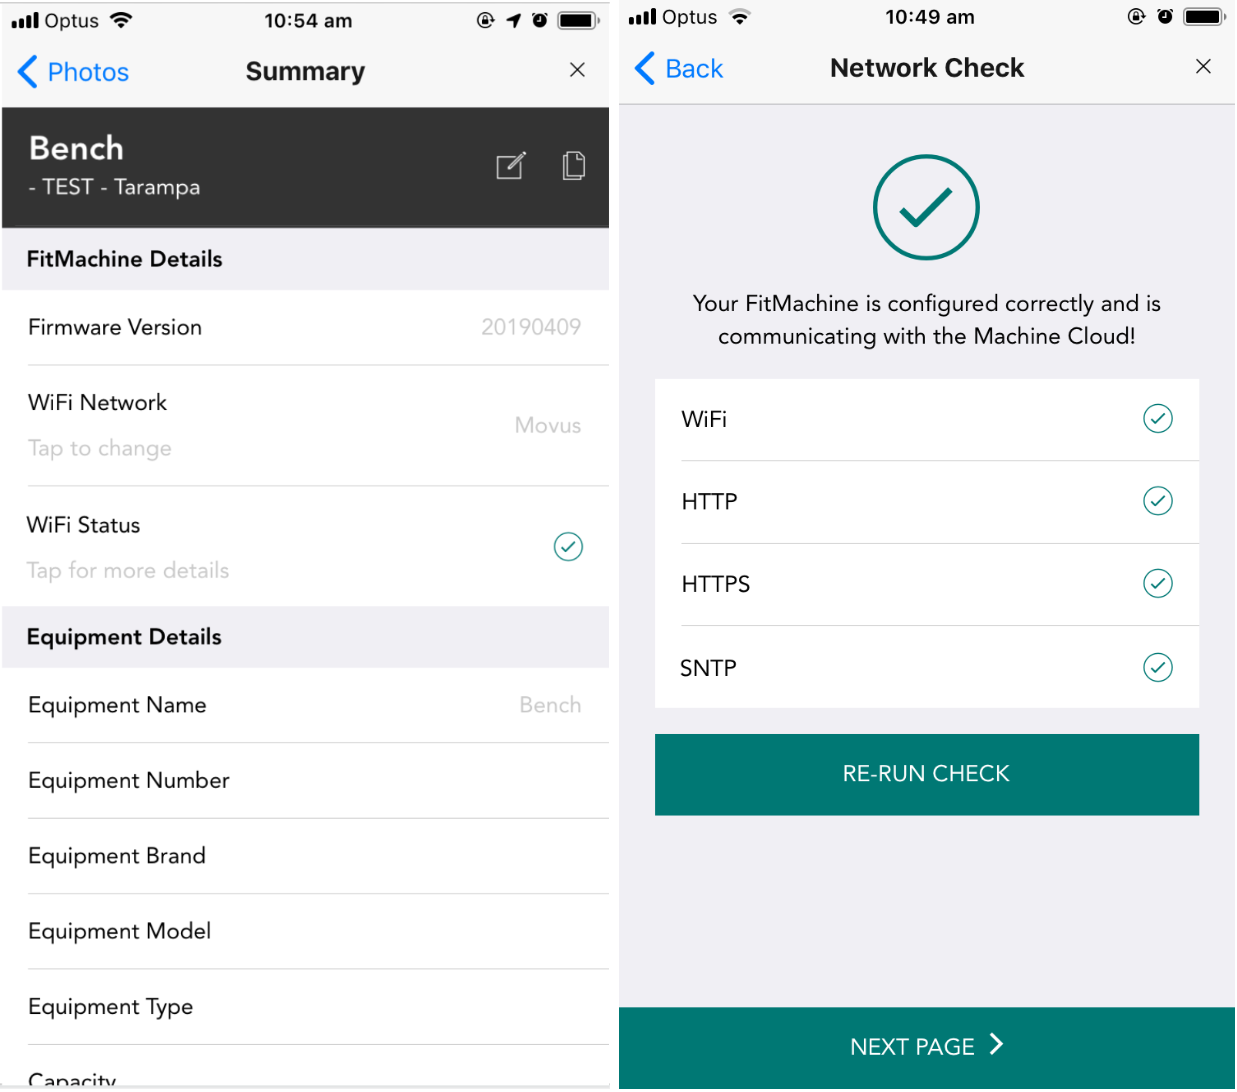
Now that you have replaced the FitMachine, you will need to run a connectivity test. This makes sure the new sensor is connected to your WiFi and can send samples to the cloud.
Click on WiFi Status to run a connectivity test.
Simply opening the network check page should run a Network Check; however, if it doesn’t, you have the option to re-run the check as shown in the images below.
If the Network Check results in anything other than that in the ‘Successful Check’ image, please get in touch with MOVUS Support here.
Congratulations! You have just successfully replaced your FitMachine Sensor.
What else should I look at?
---
Thanks for reading. As always, if you have any questions or concerns, please don’t hesitate to get in touch with MOVUS Support here.